Midjourney
Midjourney AI Art from Start to Finish: The Complete 2026 Workflow (V8.1)
Midjourney.ing8 min read
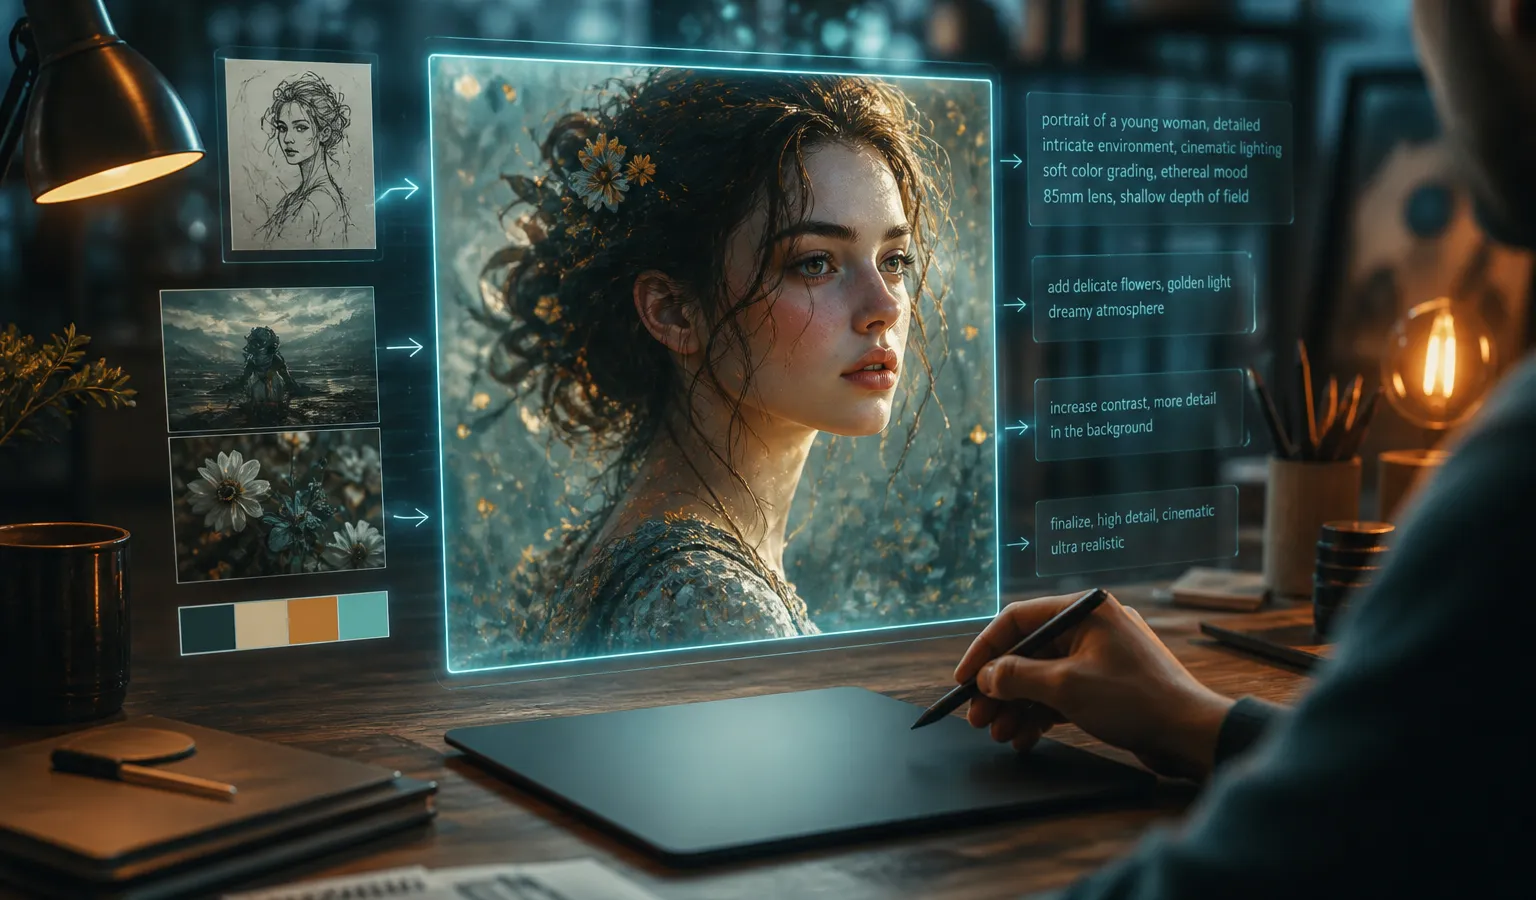
Contents+
You do not need to memorize the full parameter sheet to make Midjourney images you can publish or deliver. In 2026, the default model is already Midjourney V8.1: faster, more prompt-aware, and with native 2K HD output. This article breaks Midjourney AI art from beginner to finished image into a reusable workflow—you will use text-to-image, prompts, image-to-image / image references when needed, plus SD exploration and Run as HD for final delivery.
Set the Right Expectations: What Midjourney Is For
Midjourney is an AI image generation tool built for creators: you describe a scene in natural language, the model returns candidate images, and you iterate toward a finished piece. It excels at:
- Text-to-image: one sentence to a full composition
- Style exploration: quickly testing multiple moods on the same subject
- Series visuals: pulling multiple images into the same aesthetic with style references
It does not make aesthetic decisions for you. What separates strong work from random output is whether you have a stable process: direction first, detail second, HD last.
Before You Start (5 Minutes)
- Confirm the model is V8.1
Since June 10, 2026, V8.1 has been the default. Check the version in settings so old workflow habits do not fight the new model. - Clarify the use case
Social cover, concept art, product stills, character design—the use case decides whether you lean on--raw, style references, or illustration-heavy descriptions later. - Gather references (optional)
If you already have brand colors, composition, or character mood references, image references / SREF / Moodboards will usually be more reliable than text alone. - Accept “rough first, refined later”
The first image does not need to be perfect. The most common beginner waste in Midjourney is jumping straight to HD for trial-and-error.
Step 1: Write Prompts with Structure (Text-to-Image Core)
A strong Midjourney prompt is not a pile of adjectives—it gives the model clear priorities. Recommended order:
- Subject: who or what sits at the center of the frame
- Camera and composition: shot size, angle, depth of field
- Light and materials: key light direction, time of day, surface texture
- Style tone: photoreal, illustration, cinematic, etc. (keep it light)
- Parameters: add
--raw,--stylize,--chaos,--hdonly when needed
A Starter Prompt You Can Copy
a young ceramicist at a sunlit studio workbench, medium shot, soft window light from the left, shallow depth of field, natural skin texture, quiet documentary photography –stylize 100
Key points:
- Describe what you see first, then what it should feel like stylistically
- Avoid fighting words (e.g. “minimal” and “ornate Baroque” in the same prompt)
- Prompts in other languages work too; critical structural details should still be clear and specific
This is the foundation of text-to-image: prompt quality sets the ceiling for your first round of candidates.
Step 2: SD Exploration—Trade Speed for Direction
Midjourney V8.1 makes standard jobs faster, which is ideal for batch experimentation. During exploration, stay on SD (standard resolution):
- Keep the same subject and change 3–5 lighting or composition variants
- Change only one variable per round (camera only, or time-of-day light only)
- Pick 1–2 images with the right direction, not the most detail-packed ones
- Raise
--chaoswhen you need divergence; lower it when you need convergence
Why not go HD right away? In exploration you are buying information, not pixels. Once direction is locked, HD is the better investment—that is the core strategy discussed in our other article, Midjourney HD vs SD: Save Time and Cost with a Resolution Strategy.
Step 3: Choose Key Parameters by Scenario
--raw: More Obedient for Realism and Commercial Work
Turning on --raw reduces Midjourney’s default cinematic filter so results stay closer to the literal prompt. Good for:
- Product photography / e-commerce hero shots
- Architecture and interior visualization
- Neutral reference frames for storyboards
If you are doing more artistic, atmosphere-heavy AI art, you can leave Raw off at first and compare the switch once composition is stable.
--stylize: How Strong the Aesthetic Intervention Gets
--stylize controls how much the model’s built-in aesthetic steers the image. With Personalization enabled, raising stylize often lets your personal taste profile lead the look. During exploration, start near the default and adjust up or down.
--chaos: Widen Candidate Variation
High chaos fits “I still do not know which composition I want.” Once you have a winning direction, lower chaos so later edits do not drift apart.
Resolution: --hd / Run as HD
V8.1 supports native 2K HD at roughly 2048px. In practice:
- Explore on SD
- Deliver with Run as HD or
--hdin the prompt - Do not treat HD as the default for every trial run
Note: V8.1 / V8.2 do not support the legacy quality flag --q. If your workflow depends on --q 2 / --q 4, stay on V7 or switch to V8.1’s SD/HD strategy.
Step 4: Image-to-Image and Style Anchors (Where Series Consistency Starts)
When text alone is not stable enough, add Midjourney image-to-image / image references to the flow:
- Image prompt: transfer composition, materials, or character mood
- SREF (style reference): lock brushwork, color, and overall tone
- Moodboards: build reusable style boards for a project—ideal for brand series and account visuals
Suggested order:
- Use text-to-image to find a seed where the content is right
- Attach SREF / Moodboard so the mood is right
- Strengthen image references when you need character or product consistency
- Use Vary / Remix for small-step iteration instead of rewriting from scratch every time
V8.1 is more usable for style consistency than early versions; for series work, build anchors first and expand in batches—usually more stable than rewriting a long style block on every image.
Step 5: Iterate to Delivery (Vary, Remix, Then HD)
Turn “I like this” into “this is deliverable”:
- Run Vary (Strong / Subtle) on winning images to find better composition within the same neighborhood
- Use Remix when you need prompt changes—keep composition strengths, replace description weaknesses
- For commercial realism, turn on
--rawand compare another pass - Confirm subject, edges, and text legibility (if signs or packaging appear in frame) meet your bar
- Run as HD for roughly 2K delivery
- After export, do light cropping or color unification (especially important for multi-image series)
By this point you have not just “generated an image”—you have run a repeatable Midjourney workflow.
A Copy-Paste 2026 Workflow Checklist
| Phase | What to do | Goal |
|---|---|---|
| 1. Define | Use case, subject, must-include / must-avoid elements | Fewer wasted generations |
| 2. Draft prompt | Subject → camera → light → light style | Readable candidates |
| 3. SD exploration | Change one variable per round; adjust chaos if needed | Lock direction |
| 4. Refine | Raw / stylize / Personalization / SREF | More control |
| 5. Iterate | Vary / Remix | Better composition and detail |
| 6. Delivery | Run as HD (~2K) | Delivery-grade output |
| 7. Series expansion | Moodboards + consistent parameter habits | Visual unity |
6 Pitfalls Beginners Hit Most Often
- Prompts that are too long and contradict each other — remove conflicting words first, then add detail.
- HD for the entire trial run — expensive and slow; burns budget before direction is set.
- Ignoring Personalization / style references — series images feel like a new product every time.
- Hard-porting V7
--qhabits into V8.1 — it simply does not work; use SD/HD instead. - Skipping small-step iteration — rewriting the whole prompt each time makes it hard to learn what works.
- Chasing a single stunning frame — for account ops and brand projects, consistency often beats one-off peaks.
How This Fits With Other Content on the Site
- For deeper parameters and migration notes: read Midjourney V8.1 Feature Breakdown: Faster, More Prompt-Aware 2K HD
- To focus on prompt structure: read Midjourney Prompt Tips: A Structure Built for V8.1
- To focus on cost and resolution: read Midjourney HD vs SD: Save Time and Cost with a Resolution Strategy
- For hands-on step-by-step practice: follow the tutorial Getting Started with Midjourney: Your First Complete Generation Guide
midjourney.ing focuses on Midjourney V8.1 capabilities, parameter habits, and actionable tutorials. When you are ready to practice, enter the workspace from the header Try Midjourney and run your first finished image with this workflow.
Closing
The barrier to Midjourney AI art is not “can you write fancy prompts”—it is whether you build a process that still holds up in 2026: clear prompts for text-to-image, SD to find direction, parameters and style references for control, and Run as HD for 2K HD delivery. Complete one full pass with the seven steps above and you are already ahead of most people who stop at random generation.
The next step is simple: pick one real use case (a cover or a product shot), open Midjourney V8.1, and run the checklist from SD to HD—a finished image beats a perfect theory every time.