Midjourney
Midjourney AI आर्ट: शुरुआत से फाइनल आउटपुट तक — 2026 पूरा workflow (V8.1)
Midjourney.ing7 मिनट पढ़ना
विषय-सूची+
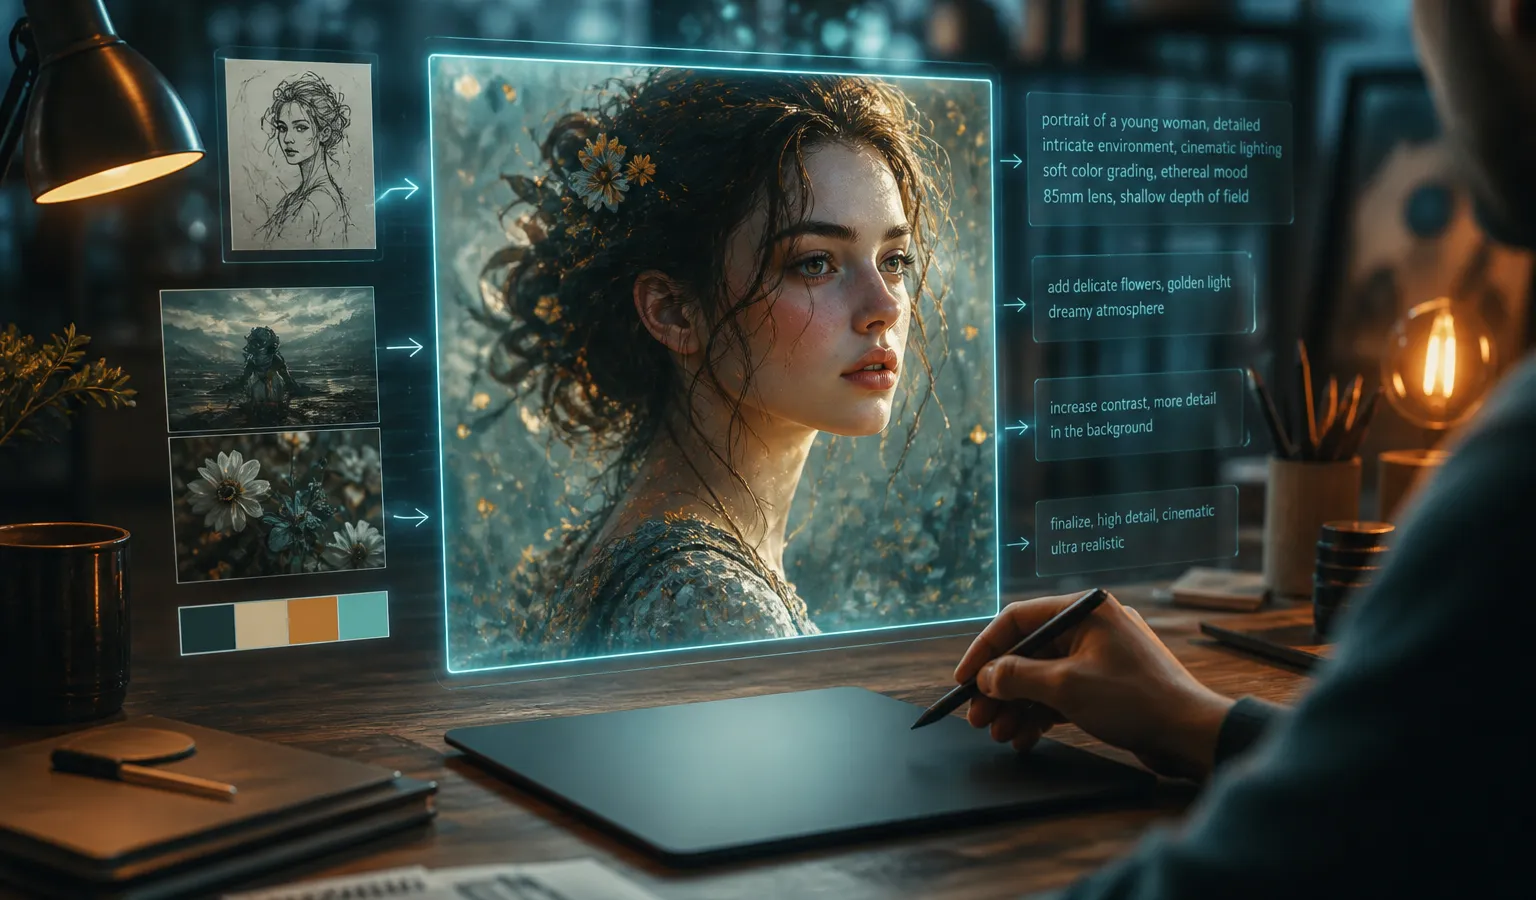
Midjourney से publish- या deliver-ready इमेज बनाने के लिए पूरा पैरामीटर चार्ट याद करने की ज़रूरत नहीं। 2026 में default model Midjourney V8.1 है: faster, prompt-aware, और native 2K HD support। यह पोस्ट Midjourney AI को entry से final output तक एक reusable workflow में तोड़ती है — आप बार-बार टेक्स्ट से इमेज, प्रॉम्प्ट, ज़रूरत पड़ne पर इमेज से इमेज / image reference, SD explore और Run as HD finalize करेंगe।
पहले सही expectations: Midjourney क्या solve करता है
Midjourney creators के लिए AI इमेज जनरेशन टूल है: आप scene natural language में describe करते हैं, model candidates देता है, फिर iterate करके final output मिलता है। यह strong है:
- टेक्स्ट से इमेज: एक sentence से पूरी composition
- Style explore: same theme पर अलग-अलग mood fast try करना
- Series visuals: style reference से कई images को एक aesthetic पर लाना
यह आपकी «aesthetic decisions» नहीं लेता। Gap तब बनता है जब stable process हो: पहले direction, फिर detail, अंत में HD।
शुरू करने से पहले (5 मिनट)
- Model V8.1 confirm करें
10 June 2026 से V8.1 default है। Settings में version check करें — पुरानी workflow habits नए model को hurt न करें। - Use case clear करें
Social cover, concept art, product still, character design — use case decide करता है कि--raw, style reference या illustration-style description कब चाहिए। - References तैयार करें (optional)
Brand colors, composition या character vibe पहले से हों तो image reference / SREF / Moodboards pure text से stable रहते हैं। - «पहले rough, फिर polish» accept करें
पहली image perfect होनी ज़रूरी नहीं। Beginners की common waste: शुरू से HD पर trial-error।
Step 1: structured prompt लिखें (टेक्स्ट से इमेज core)
अच्छा Midjourney prompt adjectives stack नहीं — model को clear priority देना है। Recommended order:
- Subject: frame center में कौन/क्या
- Shot और composition: framing, angle, depth of field
- Light और materials: key light direction, time, texture
- Style tone: photoreal, illustration, cinematic etc. (brief)
- Parameters: ज़रूरत हो तो
--raw,--stylize,--chaos,--hd
Copy-paste starter prompt
a young ceramicist at a sunlit studio workbench, medium shot, soft window light from the left, shallow depth of field, natural skin texture, quiet documentary photography –stylize 100
Key points:
- पहले «क्या दिखे», फिर «किस style में»
- conflicting words कम (जैसे «minimal» और «ornate baroque» साथ)
- Hindi prompt भी चल सकता है; structure clear और specific रखें
यही basic टेक्स्ट से इमेज है: prompt quality first-round ceiling set करती है।
Step 2: SD explore — speed से direction
Midjourney V8.1 standard jobs fast करती है, batch trial के लिए ideal। Explore phase SD (standard resolution) पर रहें:
- Same subject, 3–5 lighting या composition variants
- हर round में एक variable change (sirf shot, या sirf time of day)
- 1–2 images choose करें जिनका «direction सही» — «detail max» वाला नहीं
- Diverge करना हो तो
--chaosबढ़ाएँ; converge करना हो तो घटाएँ
Direct HD क्यों नहीं? Explore में आप information buy कर रहे हैं, pixels नहीं। Direction lock होने पर HD cost-effective — यही strategy site की दूसरी post «Midjourney HD vs SD: रेज़ोल्यूशन रणनीति से समय और लागत बचाएँ» में है।
Step 3: scenario के हिसाब से key parameters
--raw: photoreal और commercial ज़्यादा obedient
--raw Midjourney के default cinematic filter को कम करता है — result literal prompt के closer। Fit है:
- Product photography / e-commerce hero
- Architecture और interior viz
- Neutral reference frames storyboard के लिए
Artistic, mood-heavy AI art में पहले Raw off रखें; composition stable होने पर on/off compare करें।
--stylize: aesthetic intervention strength
--stylize model की aesthetic push control करता है। Personalization on होने पर stylize thoda raise करने से personal taste profile frame dominate कर सकता है। Explore default के आसपास start, up/down try करें।
--chaos: candidate variation widen
High chaos tab useful जब composition अभी unclear। Winning direction मिलte hi chaos down — warna edits scatter हो जातe हैं।
Resolution: --hd / Run as HD
V8.1 native 2K HD ~ 2048px support करती है। Practice:
- Explore: SD
- Finalize: Run as HD या prompt में
--hd - HD को हर trial का default मत बनाएँ
Note: V8.1 / V8.2 legacy quality flag --q support नहीं करते। अगर workflow --q 2 / --q 4 पर depend है, V7 पर रहें या V8.1 SD/HD strategy use करें।
Step 4: image-to-image और style anchors (series feel यहीं से)
Pure text unstable हो तो Midjourney image-to-image / image reference workflow में add करें:
- Image prompt: composition, material या character vibe transfer
- SREF (style reference): brushwork, color, overall tone lock
- Moodboards: project-level reusable style board — brand series और account visual के लिए
Suggested order:
- टेक्स्ट से इमेज — «content सही» seed
- SREF / Moodboard attach — «vibe सही»
- Character या product consistency चाहिए तो image reference strengthen
- Vary / Remix से small steps — हर बार scratch से नहीं
V8.1 early versions से style consistency better; series content में पहले anchor, फिर batch expand — हर image पर long style block rewrite से stable।
Step 5: final output तक iterate (Vary, Remix, फिर HD)
«Like» को «deliverable» बनाएँ:
- Winners पर Vary (Strong / Subtle) — nearby space में better composition
- Prompt fix चाहिए तो Remix — composition strength keep, weak description replace
- Commercial realism:
--rawround compare - Subject, edges, text readability check (signage/packaging हो तो)
- Run as HD — ~2K final
- Export के बाद light crop या color unify (multi-image series में खास)
Yahan aap «ek image generate» nahi — repeatable Midjourney workflow complete kar chuke hain.
Copy-ready 2026 workflow checklist
| Phase | Kya karein | Goal |
|---|---|---|
| 1. Define | Use case, subject, must-have / must-not-have | Invalid gens कम |
| 2. Draft prompt | Subject → shot → light → light style | Readable candidates |
| 3. SD explore | Ek variable per round; chaos adjust | Direction lock |
| 4. Refine | Raw / stylize / Personalization / SREF | Control बढ़े |
| 5. Iterate | Vary / Remix | Composition और detail polish |
| 6. Final | Run as HD (~2K) | Delivery-grade output |
| 7. Series expand | Moodboards + fixed param habits | Visual unity |
Beginners की 6 common pitfalls
- Prompt बहुत long और contradictory — पहले conflict words हटाएँ, फिर detail।
- Poora workflow HD trial — expensive और slow; direction unset हो तो budget burn।
- Personalization / style reference ignore — series images «हर बार नया product» जैसी।
- V7
--qhabit V8.1 में force — invalid; SD/HD use करें। - Small iterations skip — हर बार prompt rewrite — «kya work karta hai» accumulate नहीं होता।
- Sirf single stunning frame chase — account ops और brand projects में consistency often single peak से ज़्यादा matter करती है।
Site की दूसरी posts ke saath kaise combine karein
- Parameters और migration notes deep dive: «Midjourney V8.1 विशेषताएँ: तेज़, प्रॉम्प्ट-जागरूक 2K HD»
- Prompt structure focus: «Midjourney प्रॉम्प्ट टिप्स: V8.1 के लिए बनी संरचना»
- Cost और resolution: «Midjourney HD vs SD: रेज़ोल्यूशन रणनीति से समय और लागत बचाएँ»
- Hands-on steps: tutorial «Midjourney से शुरुआत: आपकी पहली पूर्ण जनरेशन गाइड»
Site midjourney.ing Midjourney V8.1 capabilities, parameter habits aur actionable tutorials par focused hai; abhi practice shuru karein to header «Midjourney try karein» se workspace open karke is workflow se apni pehli final image complete karein.
Closing
Midjourney AI ka barrier «fancy prompt likhna» nahi — 2026-valid process banana hai: clear prompt se टेक्स्ट से इमेज, SD se direction, parameters aur style reference se control, Run as HD se 2K HD deliver. Upar ke saat steps ek round complete karke aap «random image nikalna» wale zyada users se aage hain.
Agla step simple: ek real use case choose karein (ek cover ya product shot), Midjourney V8.1 open karein, checklist se SD se HD tak run karein — final output perfect theory se zyada useful hai.