Midjourney V8.2
How to Use Midjourney V8.2: A Complete Beginner’s Guide
Midjourney.ing5 min read
Contents+
Learning how to use Midjourney V8.2 does not mean memorizing every parameter first. This Midjourney beginner’s guide follows the real delivery order: confirm the model → write your first Midjourney prompt → explore in SD → Run as HD → lock results with parameters and style references. By the end you should finish one full Midjourney text-to-image run and know where to go deeper.
Already comfortable generating and only need stronger prompts? Jump to the Midjourney V8.2 prompt guide. For model-context background, see the V8.1 feature guide (V8.2 keeps the same generation loop).
What Midjourney V8.2 is (three things beginners need)
Midjourney is an AI image generation tool for creators: describe a scene in natural language, get candidates, iterate to a final. For beginners, Midjourney V8.2 mainly means:
- Better prompt obedience — clear structure beats “masterpiece / 8K” stacks
- Fast exploration — stay on SD (standard resolution) while deciding direction
- HD for finals — after the crop looks right, Run as HD (or
--hd) for ~2K output
That rhythm is the 2026 default path on this site—see the 2026 AI art workflow and HD vs SD.
Before you start: a 5-minute checklist
- Confirm Midjourney V8.2 (or your account’s current V8-family default) in settings—avoid obsolete habits like
--q. - Decide the job of the first image (social cover, character sheet, product still)—that choice drives
--rawand style references later. - Accept rough-then-refine — round one buys direction, not perfect detail.
- Optional references — if you have composition or look refs, plan image reference / SREF / Moodboards.
- Know the click-path — also see Getting Started with Midjourney.
Step 1: Write structured prompts (the text-to-image core)
Strong Midjourney prompts are priority lists, not adjective piles:
- Subject — who/what is centered
- Action or state
- Camera & framing
- Light & materials
- Light style note — photo / illustration / concept (keep short)
- Parameters —
--raw,--stylize,--chaos,--hdwhen needed
A first prompt you can run as-is
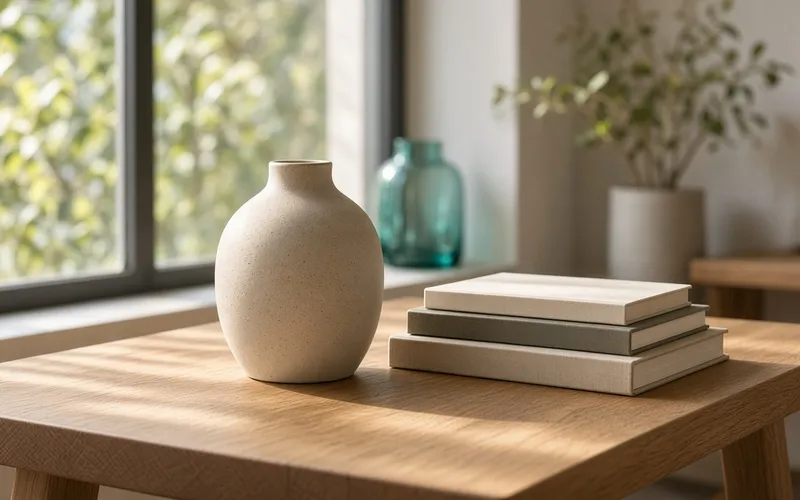
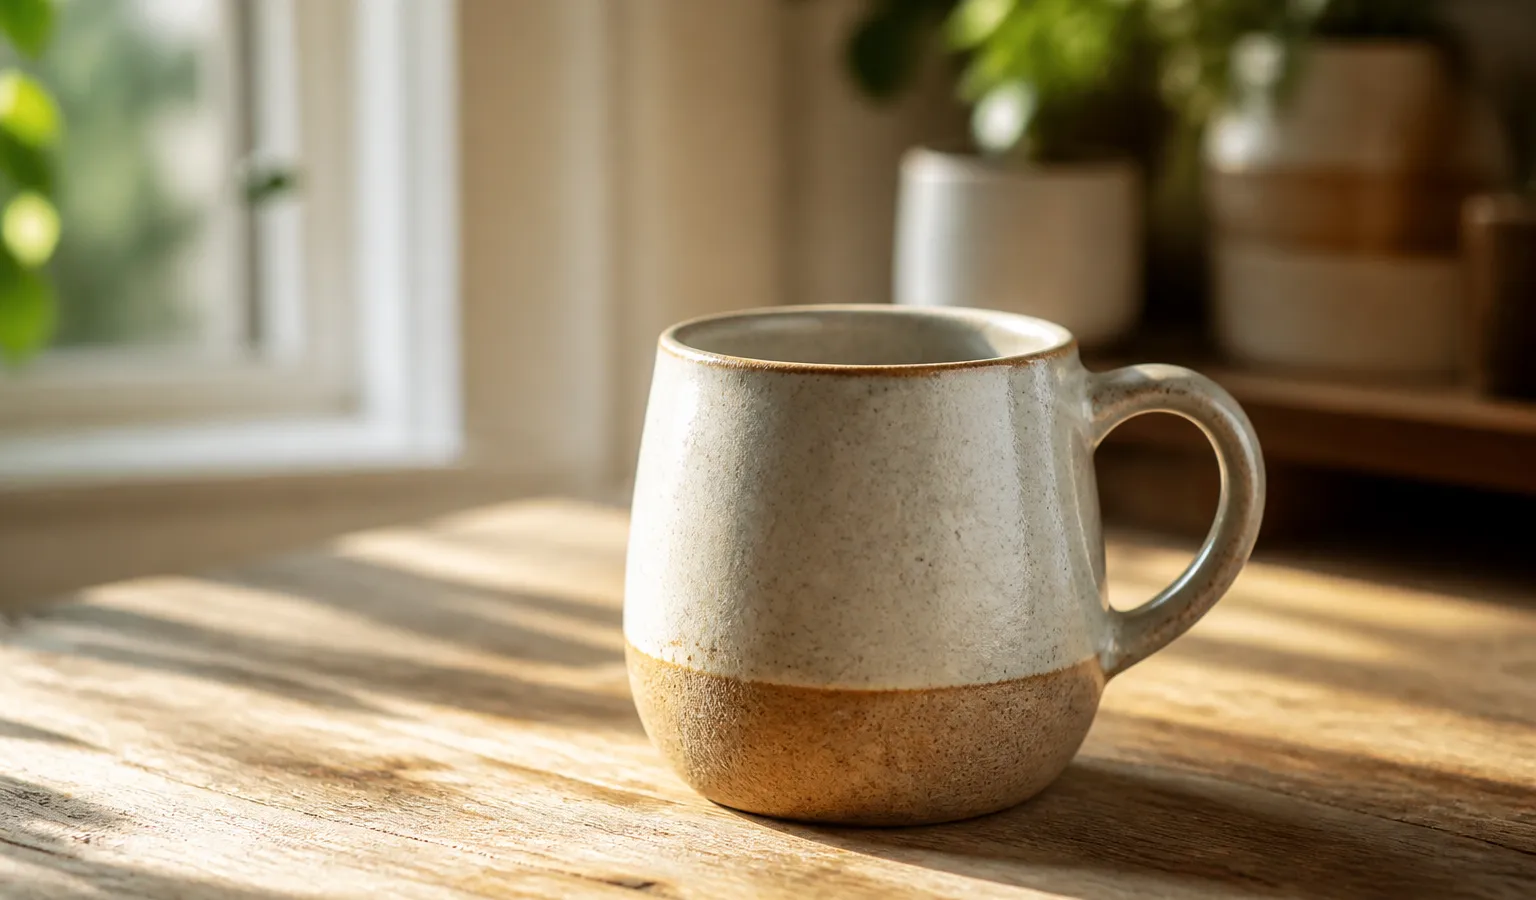
a ceramic mug on a sunlit wooden table, medium shot, soft morning window light from the left, shallow depth of field, natural wood grain, quiet product photography --stylize 100Say what you see before how it should “feel.” Chinese prompts work too; keep structure concrete. Avoid conflicting styles in one line.
More structure: prompt tips. Scene templates: prompt case library.
Step 2: Generate and explore in SD
After Generate, treat the grid as research. As a Midjourney beginner, stay on SD:
- Try 3–5 variants of the same subject (change only light, or only framing)
- Change one variable per round
- Pick 1–2 images with the right direction, not the busiest detail
- Raise
--chaosto diverge; lower it to converge
HD too early spends premium pixels on unanswered questions.
Step 3: Finish with Run as HD
When direction locks:
- Run as HD on the winner (or add
--hd) - Check edges, materials, and any text areas (on-image type often needs post)
- For series consistency, move to references instead of rewriting the whole prompt every time
That is the minimum how to use Midjourney loop: prompt → SD → HD.
Step 4: The three parameters beginners use most
--raw — more literal, less default polish
Best for products, architecture, and commercial shots that must follow the brief. Illustration/anime looks usually keep Raw off. Practice: Raw realism tutorial.
--stylize — how strongly aesthetics intervene
With Personalization on, a higher stylize often lets your taste lead. Start near default while exploring.
--chaos — how different the candidates are
High chaos when you do not know the composition yet; drop it once a winner appears.
Cheatsheet: V8.1 parameters (same living parameter set for V8.2).
Step 5: Turn luck into a repeatable system with references
- Image reference — lock pose or character vibe: image reference guide
- SREF / Moodboards — lock series look: SREF & Moodboards
- Personalization — long-term taste alignment
Common traps (prompt stacking, early HD, skipping style lock): beginner mistakes.
A V8.2 beginner checklist worth saving
| Step | Do this | Done when |
|---|---|---|
| 1 | Confirm Midjourney V8.2 | Correct version in settings |
| 2 | Write a structured prompt | Clear subject, no empty adjective stacks |
| 3 | Explore 3–5 rounds in SD | 1–2 directionally right images |
| 4 | Run as HD | Publish/delivery ready |
| 5 | Attach SREF for series | Multi-image look stays consistent |
Closing: from clicking Generate to actually shipping
How to use Midjourney V8.2 is less about every switch and more about a repeatable habit: structured prompts, SD for information, HD for pixels, references for series. That is the spine of this site’s Midjourney tutorial path.
Do this next: run the mug prompt in SD, Run as HD on the winner, then try your real brief on Midjourney.ing. When you need deeper prompt craft, continue with the V8.2 prompt guide.