Midjourney image-to-image
Midjourney Image-to-Image & Image Reference: From One Reference Image to Controlled Delivery
Midjourney.ing8 min read
Contents+
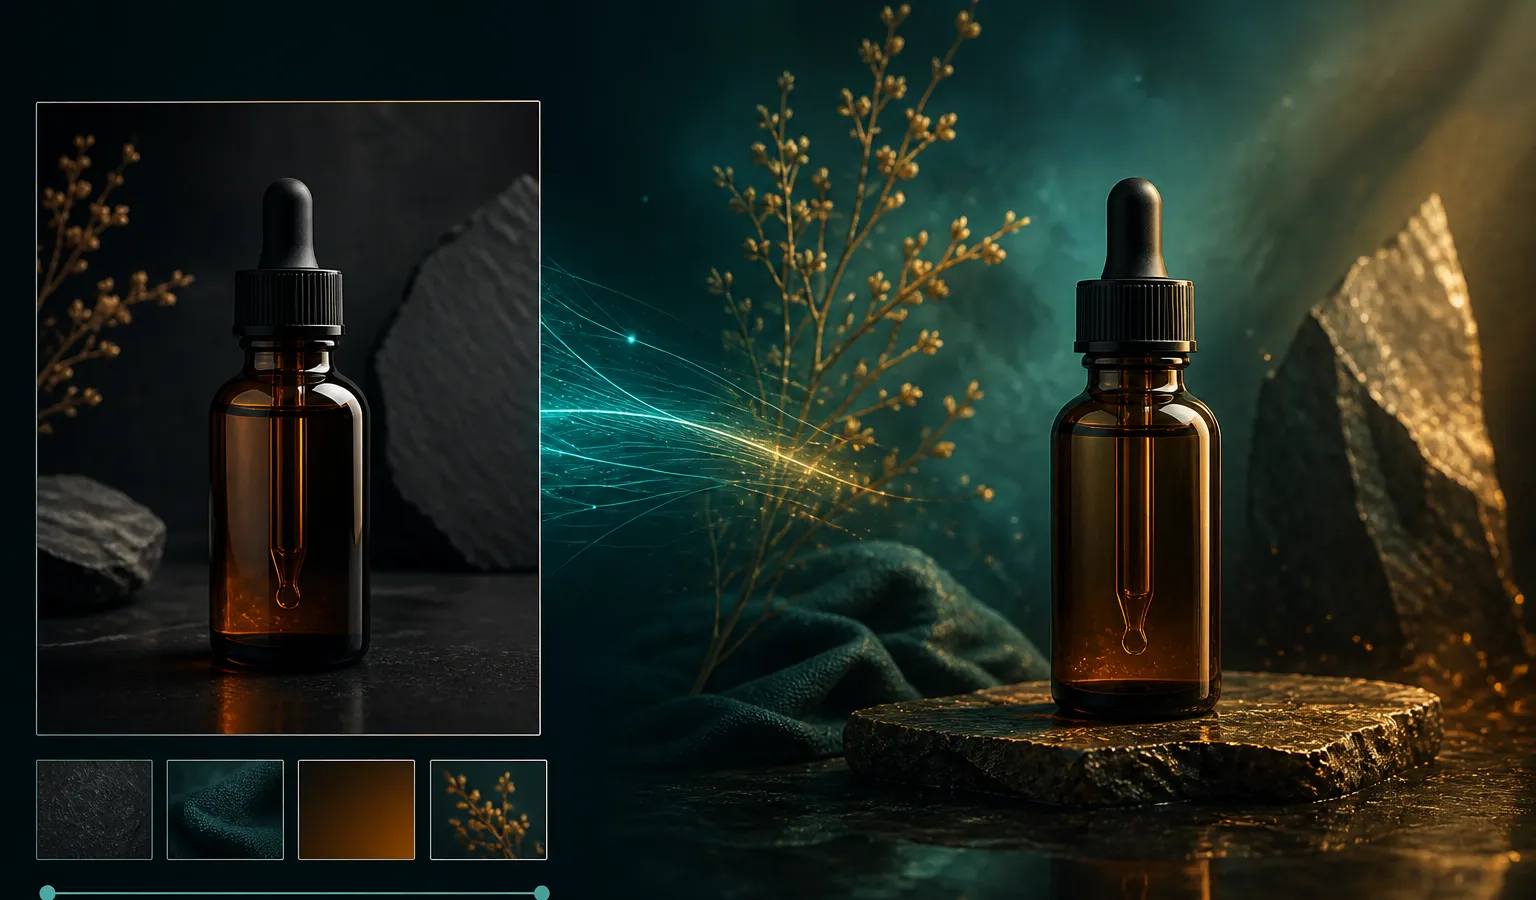
Writing Midjourney prompts with text alone can still leave composition, materials, or character mood unstable. That is when image-to-image / image reference earns its place: use one (or a set of) images to tell the model “lean this way,” then refine precisely with text. This article targets Midjourney V8.1 and explains how text-to-image and image reference divide labor, common mistakes, and a controlled path from reference image to Run as HD delivery.
If you are still building your prompt skeleton, start with Midjourney Prompt Tips: A Structure Built for V8.1 or Midjourney Prompt Case Library: 10 Ready-to-Adapt V8.1 Scene Templates; for the full pipeline, pair this with Midjourney AI Art from Start to Finish: The Complete 2026 Workflow (V8.1).
First, Separate Text-to-Image, Image-to-Image, and Style Reference
In everyday Midjourney talk, these ideas get mixed up. In practice, think of them like this:
| Method | Primary input | Best at locking | Typical use |
|---|---|---|---|
| Text-to-image | Text prompt | Subject and narrative intent | Exploring direction from zero |
| Image reference (image prompt) | Reference image + text | Composition, materials, character/product mood | You have a sample and want “similar but not a copy” |
| SREF (style reference) | Style image | Brushwork, color, overall tone | Visual unity across a series |
| Moodboards | Style board | Project-level aesthetic anchor | Long-term brand/account consistency |
Image-to-image, in this site’s usage, broadly means “using images to steer generation”—most often image reference, optionally stacked with SREF / Moodboards. It does not paste the original pixel-for-pixel; the model regenerates under reference constraints.
Why V8.1 Makes Image Reference More Worth Using
Midjourney V8.1 is faster, more prompt-aware, and supports native 2K HD. For the image-reference pipeline, that means:
- Lower iteration cost: In SD, you can try more combinations of “reference strength × text description.”
- Steadier detail: Materials, small objects, and light relationships align more easily with the reference.
- A clear delivery path: Once direction is locked, deliver with Run as HD or
--hd—no need to trial everything in HD.
Note: V8.1 / V8.2 do not support the legacy quality flag --q. If your old workflow relied on --q 2 / --q 4, switch to an SD/HD strategy instead of hard-porting those parameters.
When to Use Image Reference (Instead of Stacking More Adjectives)
Signals that a reference image will help:
- You already have product packaging, character design, or space photos and need “a new frame with the same mood”
- Text-to-image gets the subject right but composition keeps drifting
- You are building a series: the same character/product in different scenes
- A client or brand supplied clear visual samples, and text cannot fully capture materials and light
When pure text-to-image is still fine:
- You are still exploring direction with no sample at all
- The reference itself has poor composition and would “pollute” results
- What you really need is style unity, not composition transfer—prioritize SREF / Moodboards instead
A Reusable Controlled Workflow (Recommended)
1. Use Text-to-Image First to Find “Content-Right” Direction
Do not lead with a reference image. Run a few rounds in SD with short prompts to confirm subject, lens, and broad lighting. That tells you whether the reference is “saving composition” or “saving style.”
2. Pick the Right Type of Reference Image
| What you need to lock | Better reference choice |
|---|---|
| Composition / pose / product placement | Clear photo or finished frame with a complete subject |
| Character mood / makeup feel | Readable medium close-up of face and light |
| Materials and packaging texture | High-res still life on a clean background |
| Brushwork and color system | Style sample → prioritize SREF |
| Full brand aesthetic | Moodboards |
Rule: One image, one primary job. A single “do-everything” reference for composition, style, and character usually fails on all three.
3. Image Reference + Text: Text Says “What to Change”
The reference handles “what it should resemble”; text handles “what should differ.” Effective patterns:
- Keep structural gains from the reference (composition, subject relationships)
- Use text to name the dimensions you are changing: scene, time-of-day light, wardrobe, background, lens
- Avoid another long string of style adjectives that fight the reference
Example approach (text portion only):
same product silhouette and label layout, place on a sunlit oak breakfast table, soft morning window light, lifestyle product photography –stylize 100
Here the reference locks product shape and label layout; text changes scene and light.
4. When You Need Series Cohesion, Add SREF / Moodboards
Common stacking order:
- Image reference locks subject/composition
- SREF or Moodboards lock brushwork and color
- With Personalization on, you can raise
--stylizeso your personal taste profile shapes mood more - Use Vary / Remix for small-step iteration instead of starting over each time
V8.1 is more usable for style consistency than early versions; for brand and account content, set anchors first, then expand in batches.
5. Parameter Pairing: --raw, --stylize, chaos, HD
--raw: Useful for product, architecture, and neutral realistic reference transfer—softens the default cinematic filter so results stay closer to reference and literal prompt.--stylize: Higher values mean stronger aesthetic intervention; with Personalization or strong style references, try higher stylize.--chaos: Slightly higher during exploration; once reference relationships stabilize, lower chaos so composition is not scattered.- Resolution: Explore in SD only; after locking, Run as HD for ~2K delivery.
6. Delivery Checklist
Before you hand off, run through:
- Are subject proportions and key structure still aligned with reference intent?
- Did the parts you marked “must change” in text actually change?
- Are edges, labels, fingers/packaging details acceptable?
- Across a series, do images share color temperature and lens language?
- Did you output in HD—not submit exploration frames as final?
Three High-Frequency Scenarios
Scenario A: E-Commerce Product, New Scene
Goal: the same bottle/packaging in kitchen, bathroom, and travel settings.
- Use a clean white-background or still-life shot as image reference
- Change only scene and light in text; minimize packaging re-description
- Enable
--rawfor stronger adherence - Pick an SD seed where labels stay readable, then Run as HD
- For multi-scene series, fix SREF so style does not drift per frame
Scenario B: Same Character, Different Scenes
Goal: same character mood with new backgrounds and wardrobe states.
- Start from one successful text-to-image “hero” or a live-action reference
- Image reference locks face/mood; text describes new scene and action
- If style drifts, add SREF—do not rely on stacking style words alone
- Use Remix to fine-tune prompts; Vary Subtle for better composition
- Note: some legacy character-reference behavior changed in the V8 family; in practice, lean on current image reference + style anchors and validate in small steps
Scenario C: Space/Architecture Concept “Feels Like the Sample”
Goal: client supplied competitor space or mood board; you need a new plan in the same visual language.
- Use the sample for composition or material reference (do not expect floor-plan precision)
- In text, spell out “new functional zone / new furniture / new time-of-day light”
--raw+ lower chaos to hold perspective- Use Moodboards for project-level unity
- Before HD, confirm perspective and materials read clearly, then deliver
7 Pitfalls Beginners Hit Most Often
- Reference too blurry or subject cropped — the model learns wrong structure.
- Text and reference fight each other — reference is soft Japanese minimalism; text says “cyber-neon thick paint.”
- One reference for composition, style, and character — split the jobs.
- Full HD while tuning reference strength — expensive and slow; V8.1 should be SD→HD.
- Using only image reference when SREF was needed — composition matches but style still drifts.
- No small-step iteration — big prompt swings plus new references every time; you never accumulate working combos.
- Treating image-to-image as lossless editing — Midjourney regenerates; you want controlled similarity, not pixel-perfect replication.
How This Fits With Other Site Content
- Prompt structure: read Midjourney Prompt Tips: A Structure Built for V8.1
- Ready-to-adapt templates: read Midjourney Prompt Case Library: 10 Ready-to-Adapt V8.1 Scene Templates
- Resolution strategy: read Midjourney HD vs SD: Save Time and Cost with a Resolution Strategy
- V8.1 capabilities and migration: read Midjourney V8.1 Feature Breakdown: Faster, More Prompt-Aware 2K HD
- End-to-end workflow: read Midjourney AI Art from Start to Finish: The Complete 2026 Workflow (V8.1)
- Style series in practice: follow the tutorial Series Visuals with Style Reference: Brand Consistency in Midjourney
midjourney.ing focuses on Midjourney V8.1 methods for controlled generation. Once you have a clear reference image, enter the workspace from Try Midjourney in the header: validate in SD that “reference + text” behaves, then Run as HD for delivery.
Closing
The value of Midjourney image-to-image and image reference is turning guesswork into constraints. Use text-to-image to find direction, image reference to lock structure and mood, SREF / Moodboards to stabilize series style, and Run as HD for 2K HD delivery—that is still a valid controlled AI image generation path in 2026. Start with the clearest product or character image you have: change one scene variable, run your first SD-to-HD round, and you will feel why “controlled” beats “one lucky masterpiece.”